Learning how to draw a monkey is such a fun activity for kids, especially because monkeys are cute, silly, and full of personality. This easy monkey drawing tutorial breaks everything down into simple steps so kids can follow along without feeling overwhelmed.
All you need is paper, a pencil, an eraser, and something to color with when you’re done. Go slowly, have fun, and remember that your monkey does not have to look perfect. Every drawing will look a little different, and that’s part of the fun!
More to read:
- 17+ Sensory Activities for Toddlers (That Are Actually Fun and Easy) – Kids Like to Learn
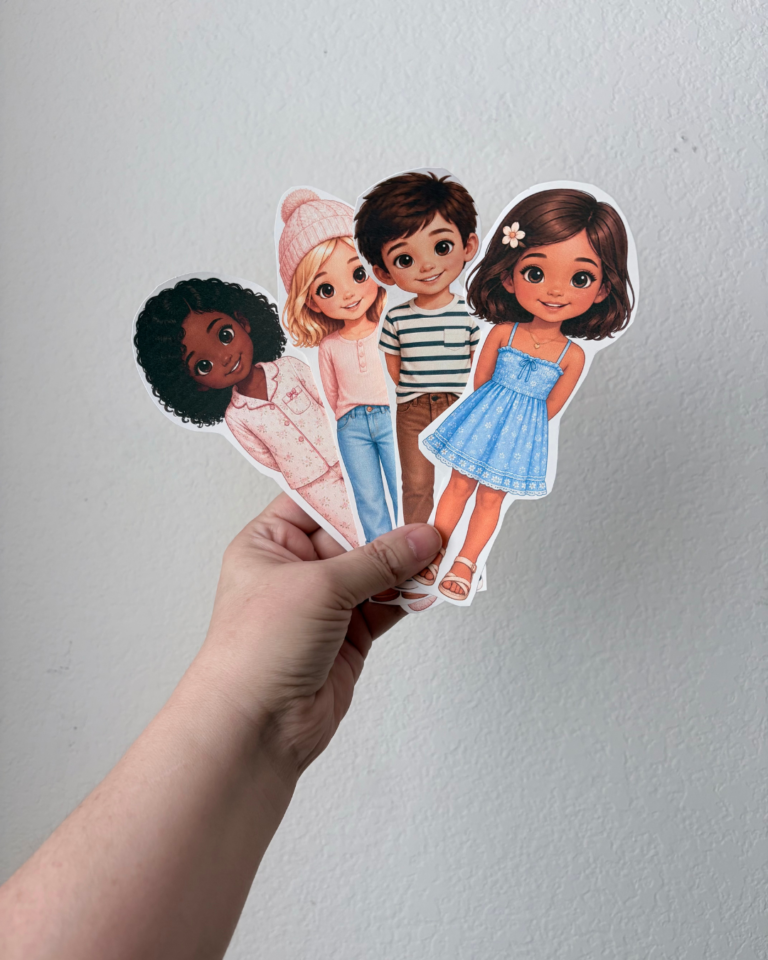
- 18 Free Cute Paper Dolls Printable – Kids Like to Learn
- 55 Fun Games to Play with Kids (+ Free PDF!) – Kids Like to Learn
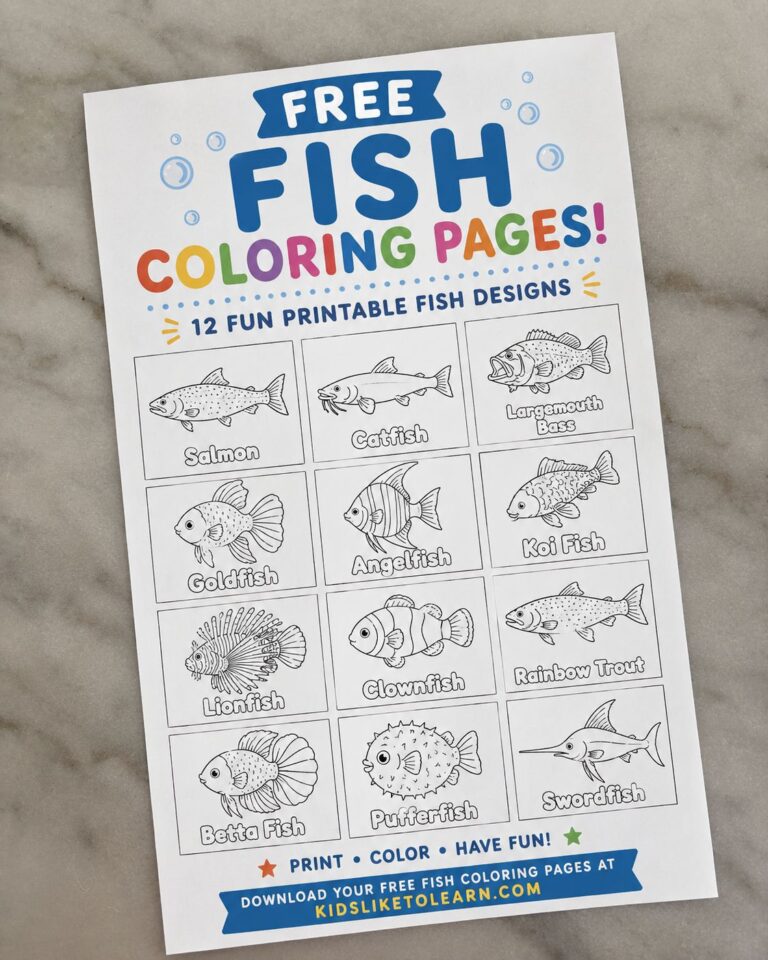
- 12 Free Fish Coloring Pages for Kids – Kids Like to Learn
Step 1: Draw the Head
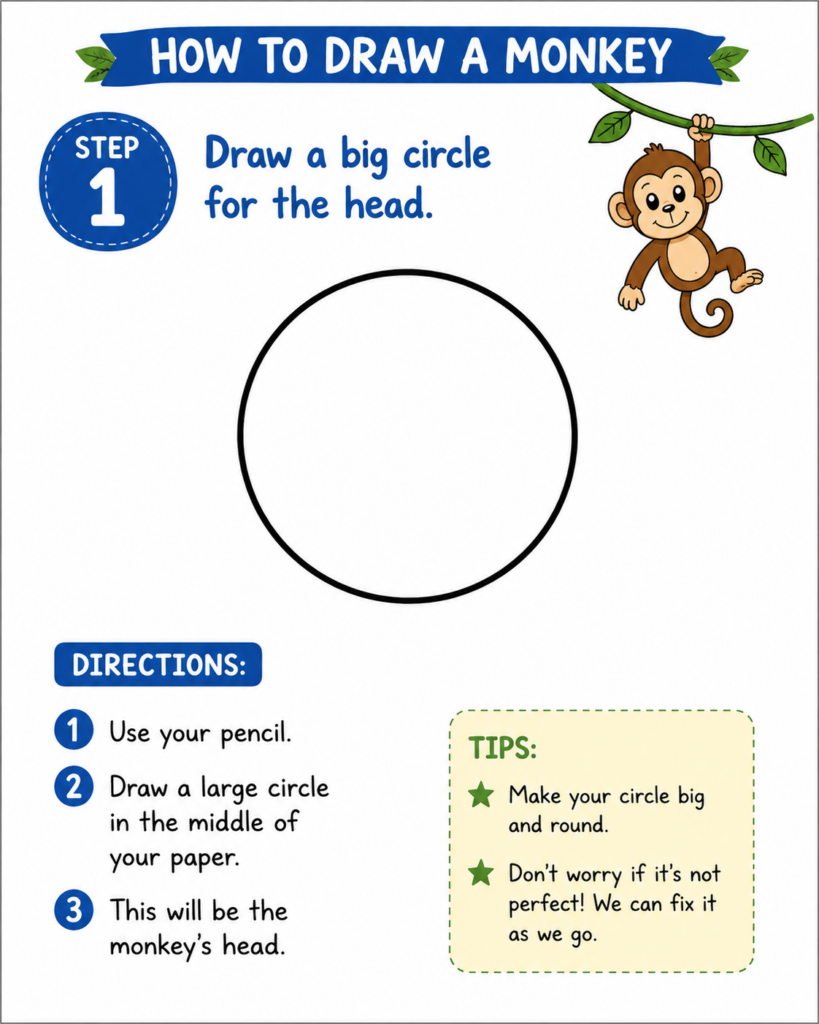
Start by drawing a big circle for the monkey’s head. Try to make the circle nice and round, but don’t worry if it is a little wobbly. This circle will be the main shape of the monkey’s face.
Step 2: Add the Face Shape
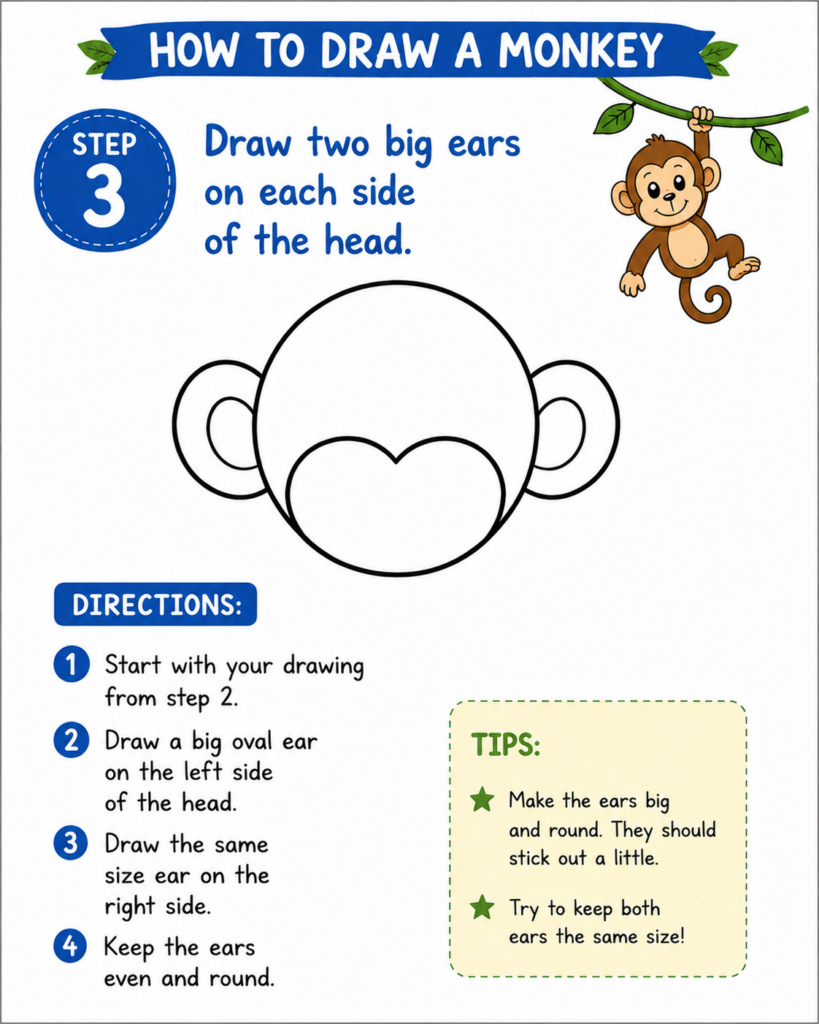
Next, draw a curved shape near the bottom of the circle. This shape almost looks like two little hills connected together. It will become the lighter part of the monkey’s face where the mouth and nose will go.
Now add two big ears, one on each side of the head. Draw a rounded ear shape on the left side and another one on the right side. Then add a smaller curved line inside each ear to give them more detail.
Step 3: Add the Eyes, Nose, and Smile
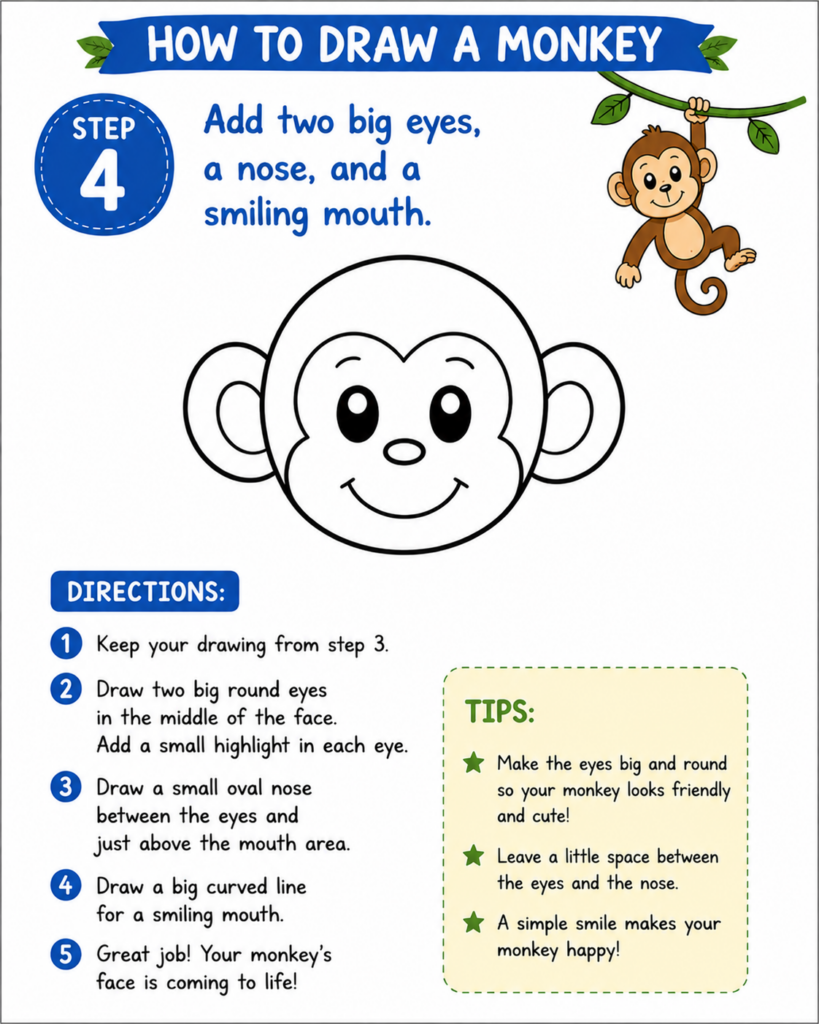
Draw two big eyes near the middle of the face. Add a small oval or circle for the nose. Then draw a happy smiling mouth underneath the nose. You can also add little eyebrow lines above the eyes to make your monkey look extra cute.
Step 4: Draw the Body & Arms
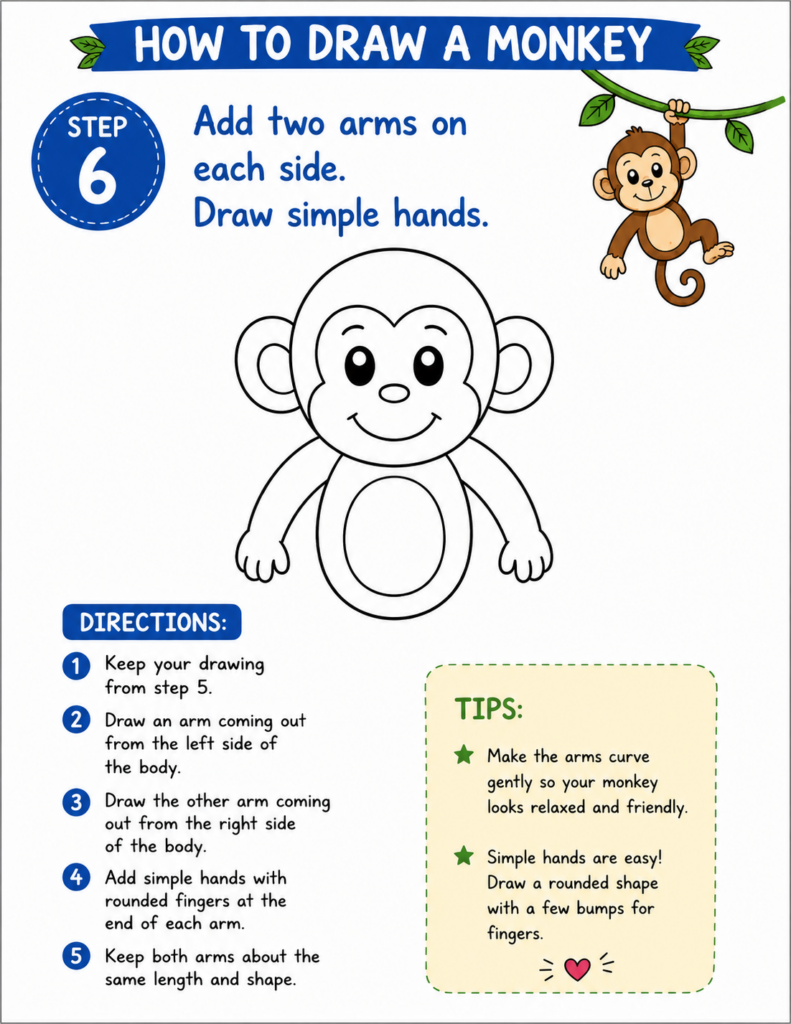
Under the head, draw a large oval shape for the monkey’s body. The oval should connect underneath the head and stretch down like a long egg shape. This gives your monkey a soft, simple body.
Draw one arm on each side of the body. The arms can be long curved shapes that hang down beside the monkey. At the bottom of each arm, draw simple little hands with small bumps for fingers.
Step 6: Add the Legs and Feet
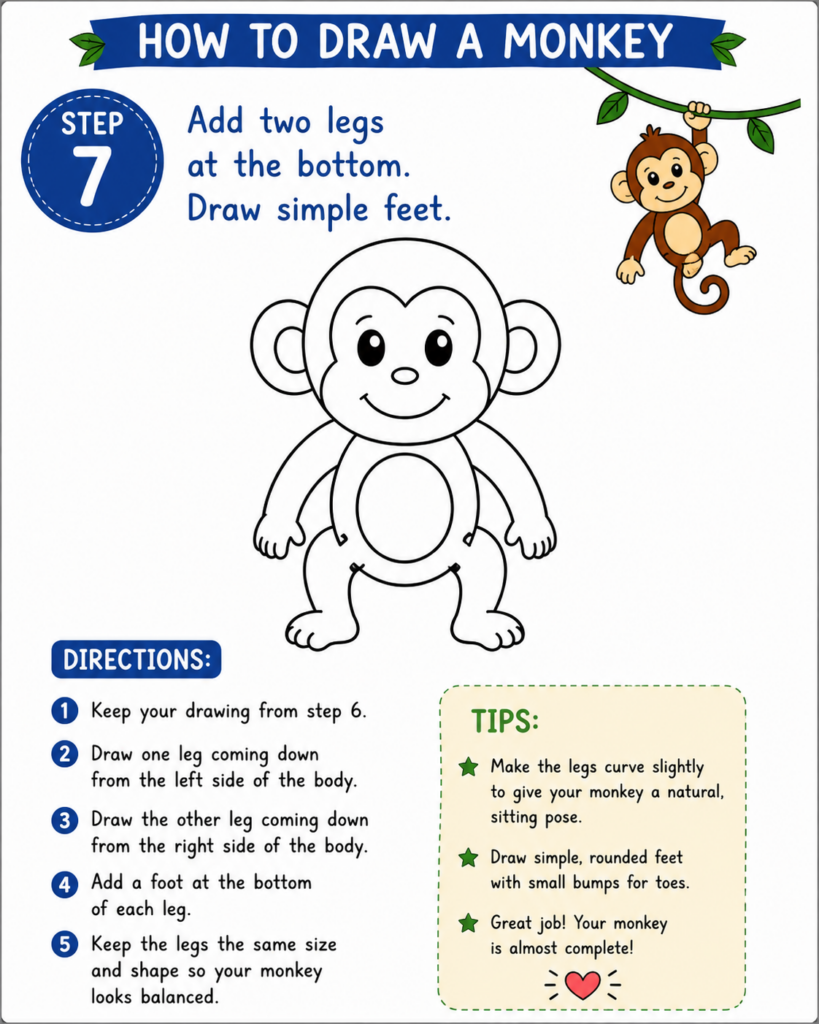
Now draw two legs at the bottom of the body. Each leg can curve down from the oval body shape. Add simple feet at the bottom with little toe bumps. This helps your monkey look like it is standing.
Step 7: Add the Tail and Color Your Monkey
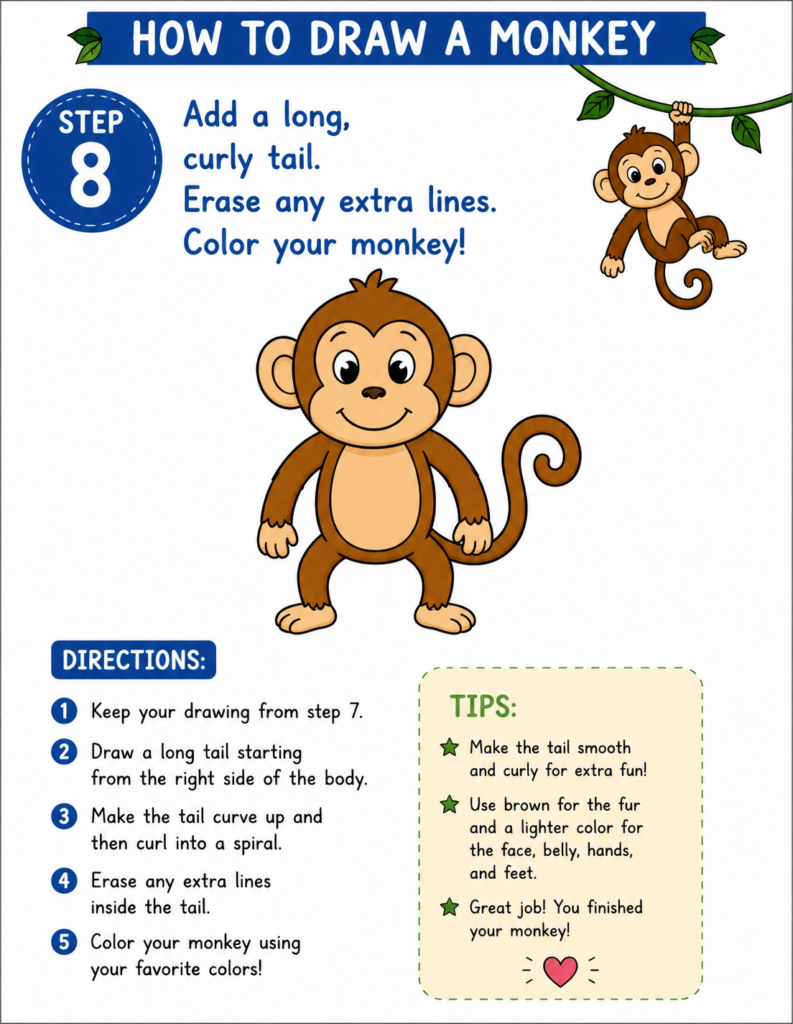
Finally, draw a long curly tail coming out from one side of the monkey’s body. A monkey tail can curl around like a spiral, so this part is really fun to draw.
Once the tail is finished, erase any extra lines you do not need. Then color your monkey. You can use brown for the fur, tan or peach for the face and belly, and any fun colors you like for extra details.
Final Tip
Take your time and enjoy each step. Drawing gets easier with practice, and every monkey you draw will have its own cute personality. Try drawing your monkey again and see how it changes the second time!
Download the free pdf which you can easily print for referencing when drawing.